Prerequisites
- CentOS 6: minimal installation
- Postfix: SMTP
- Dovecot: IMAP, POP3
- Roundcube: web-based IMAP client
- Postfix admin: to easily manage Postfix
To work properly, system needs to have selinux disabled.
# vi /etc/selinux/config

Install Postfix
From the console, install Postfix with yum command.
# yum install postfix

Edit configuration file /etc/postfix/main.cf and set the parameters as follow:
# vi /etc/postfix/main.cf

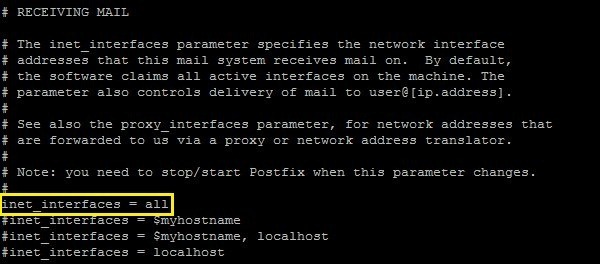


Once all the parameters have been set, set application to start during system boot and start the service.
# chkconfig postfix on
# service postfix start

Testing Postfix
To check if everything works as expected, type from console the following commands to send an email:
# telnet localhost smtp
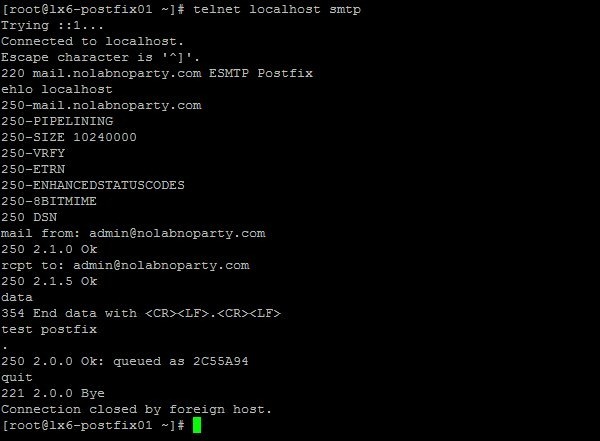
To check if the email has been received, have a look at the /home/username/Maildir/new directory.
# cd /home/username/Maildir/new/
# ll
# cat xxxxx.xxxxx.server.domain.com
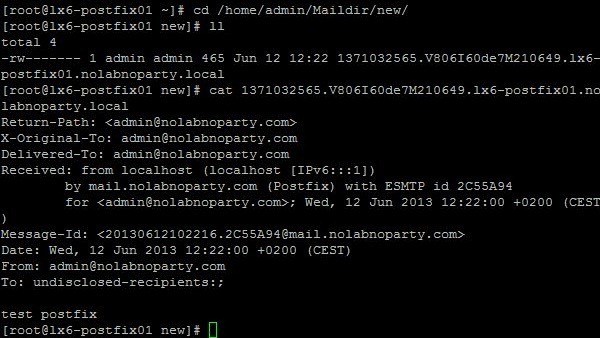
The email was received by the system then the mail server is working properly.
Install Dovecot
While Postfix acts as Mail Transfer Agent (MTA) only, in order to retrieve emails using modern tools we need to enable IMAP/POP3 protocols. Dovecot is an application that acts as a secure IMAP and POP3 server.
Use the yum command to install Dovecot.
# yum install dovecot

Edit the configuration file /etc/dovecot/dovecot.conf to enable the needed protocols.
# vi /etc/dovecot/dovecot.conf
![]()
Then we need to specify the mail location by editing the file /etc/dovecot/conf.d/10-mail.conf.
# vi /etc/dovecot/conf.d/10-mail.conf

Edit the file /etc/dovecot/conf.d/10-auth.conf and set the following parameters:
# vi /etc/dovecot/conf.d/10-auth.conf


Last file to edit /etc/dovecot/conf.d/10-master.conf.
# vi /etc/dovecot/conf.d/10-master.conf
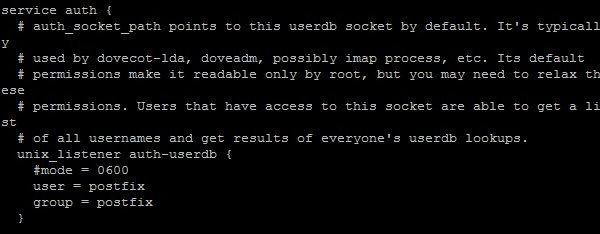
Set Dovecot to start at system boot and start the service.
# chkconfig dovecot on
# service dovecot start

Testing Dovecot
To check if Dovecot is working, we test the program through the POP3 protocol.
# telnet localhost pop3

Install Roundcube
Roundcube is a browser-based IMAP client with an application-like user interface.
To configure the application, firstly we need to install MySQL server and Apache in the system.
# yum install mysql-server mysql-devel httpd
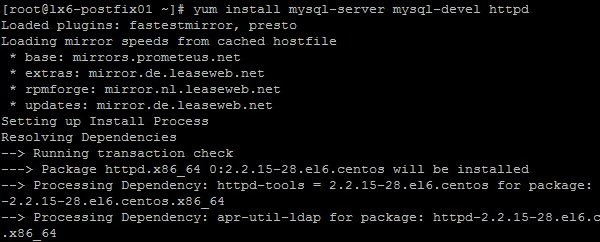
Enable both MySQL and Apache to start at system boot and enable services.
# chkconfig mysqld on
# service mysqld start
# chkconfig httpd on
# service httpd start
Install EPEL repository
To install Roundcube with yum command, we need to install the EPEL repository in the system.
# wget http://dl.fedoraproject.org/pub/epel/6/x86_64/epel-release-6-8.noarch.rpm
# rpm -ivh epel-release-6-8.noarch.rpm
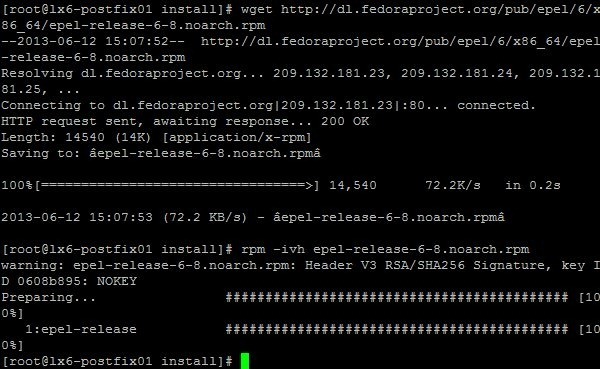
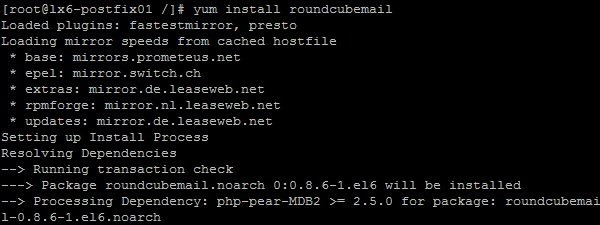
Once EPEL repo has been installed, use yum to install Roundcube.
# yum install roundcubemail
Configure MySQL
To define the database used by the application, we need to access MySQL configuration.
# mysql -u root -p
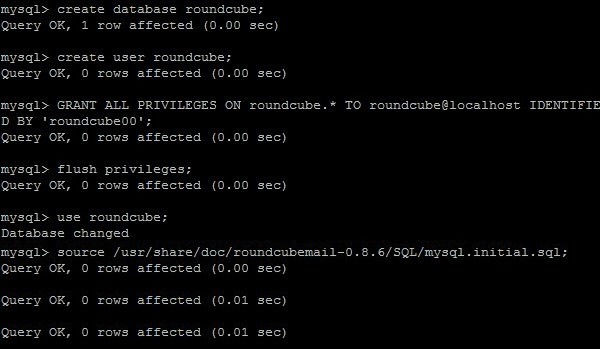
Edit configuration file /etc/roundcubemail/db.inc.php to set the parameters to access the database.
# vi /etc/roundcubemail/db.inc.php

Edit the file /etc/roundcubemail/main.inc.php to set the hostname chosen to perform the login.
# vi /etc/roundcubemail/main.inc.php
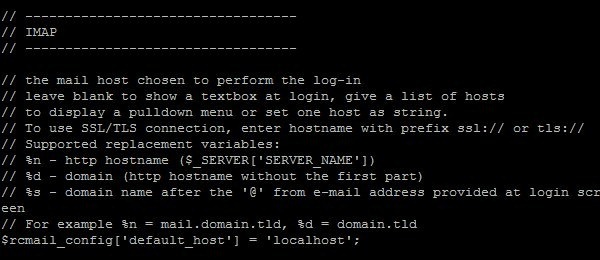
To make the system accessible outside the server, edit the file /etc/httpd/conf.d/roundcubemail.conf and set the correct parameter.
# vi /etc/httpd/conf.d/roundcubemail.conf

Edit the /etc/php.ini file and set the time zone.

Because the log could report errors related to encryption, set the correct encryption parameter.
# vi /etc/php.d/mcrypt.ini

Restart Apache.
# service httpd restart
Testing Roundcube
Access Roundcube typing from your browser the address:
http://IP_address/roundcubemail
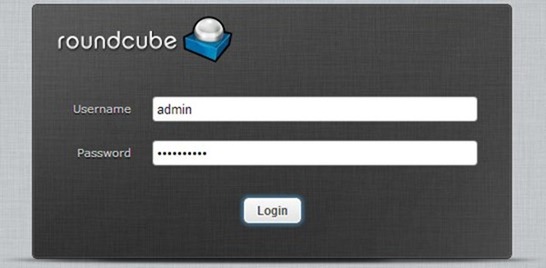
Enter your credential then click Login.
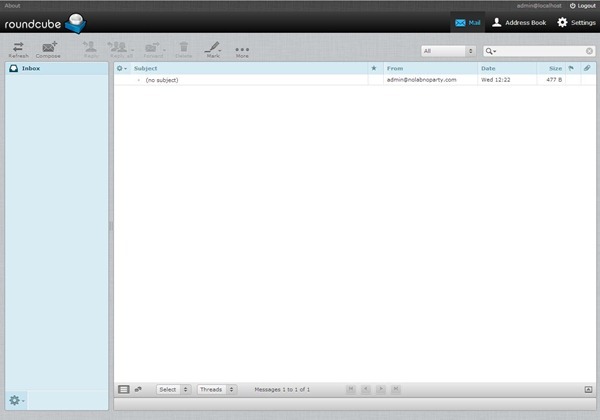
The main screen appears showing the email received when Postfix was previously tested.
Install Postfix Admin
To make Postfix administration easier, the Postfix admin is a web-based tool used to manage mailboxes, virtual domains and aliases.
If not already present in the system, install the PHP component needed by the application.
# yum install php-imap
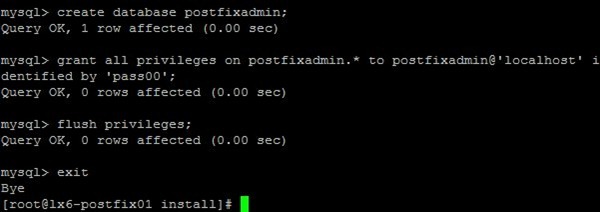
Access MySQL and create the database used by Postfix Admin.
# mysql -u root -p
Using the wget command, download the latest release of the application.
# wget http://downloads.sourceforge.net/project/postfixadmin/postfixadmin/postfixadmin-2.3.6/postfixadmin-2.3.6.tar.gz
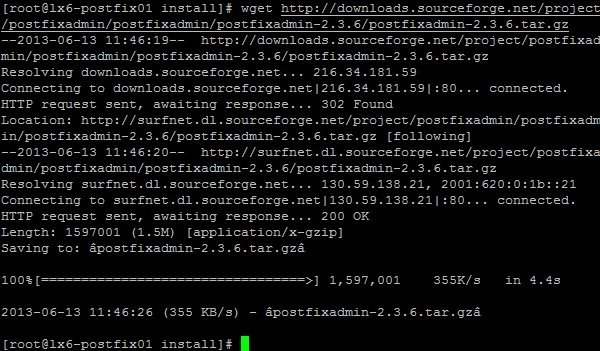
Extract the content and move the directory to /var/www/html folder.
# tar -vxzf postfixadmin-2.3.6.tar.gz
# mv postfixadmin-2.3.6 /var/www/html/postfixadmin
![]()
![]()
Edit the configuration file /var/www/html/postfixadmin/config.inc.php to enable the application and set the password.
# vi /var/www/html/postfixadmin/config.inc.php

Set the correct parameters to access the database previously created.

Add the following line to allow the creation of the administration password.
![]()
Restart Apache.
# service httpd restart
To execute the Postfix Admin Setup Checker, type in your browser the address:
http://IP_address/postfixadmin/setup.php
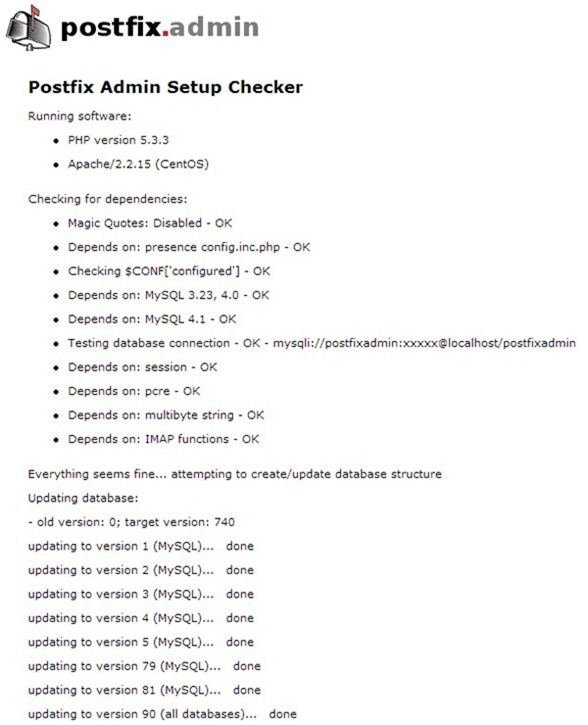
Change the setup password.

Create the Superadmin account by filling the fields at the bottom of the screen. Click Add Admin.
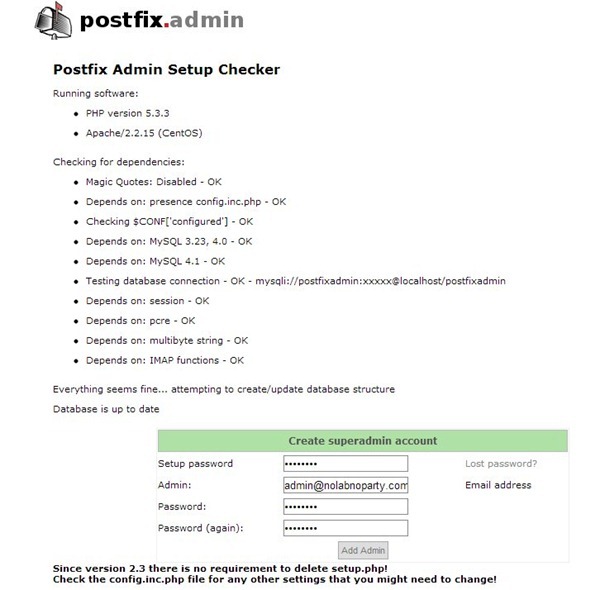
The Superadmin account is then created.

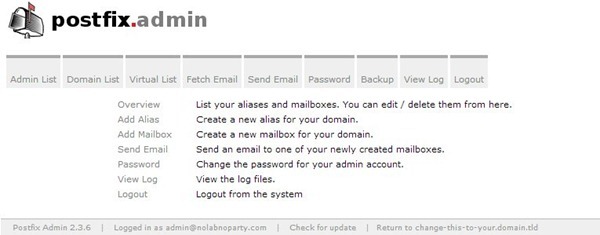
To access the Administration interface, type in your browser the address:
http://IP_address/postfixadmin
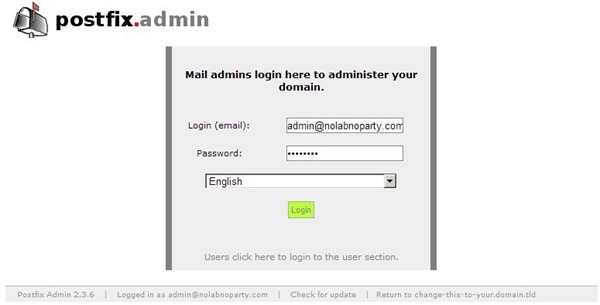
The Postfix Admin main screen.
Sending emails through a relay
If the corporate network has an antispam system to check inbound and outbound emails, Postfix needs to be configured in order to relay the emails to the antispam.
To allow the correct emails flow, set the relayhost field with the address of the antispam system.
# vi /etc/postfix/main.cf

The mail server is now up and running with the basic functions to properly manage email messages.